
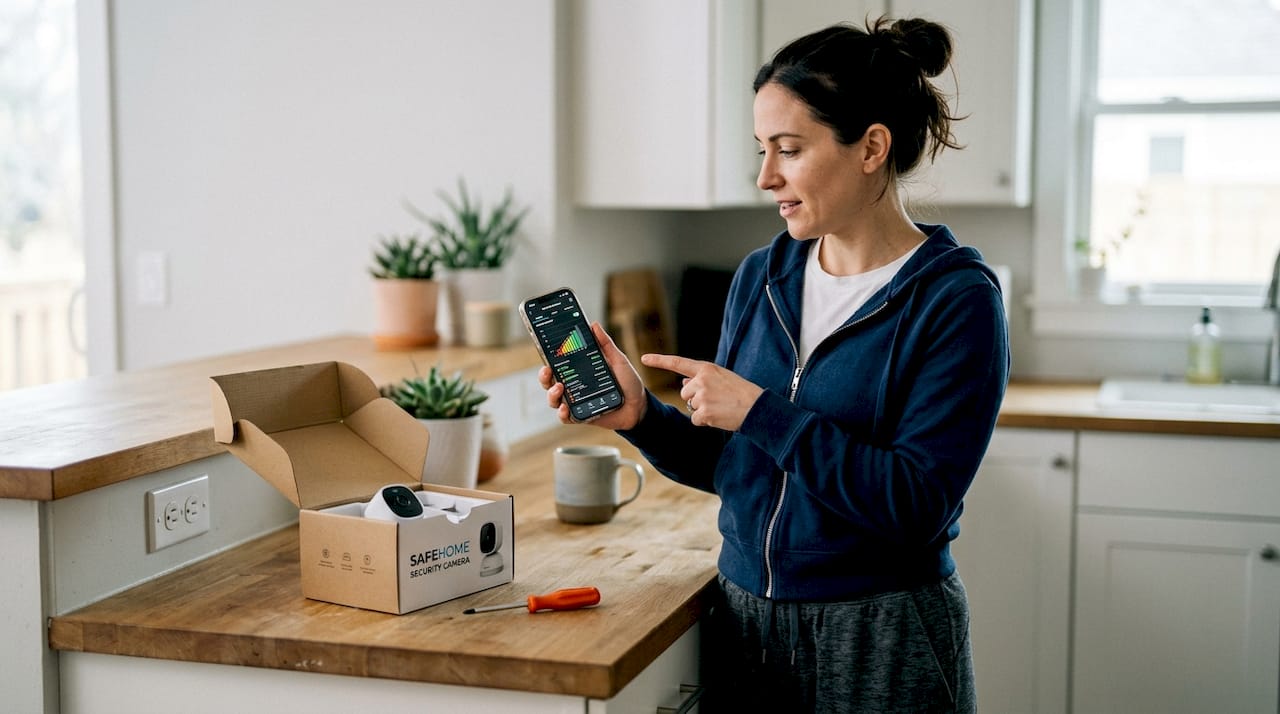
Home security setup workflow for maximum protection
TL;DR:
- A structured security plan ensures comprehensive coverage and reduces false alarms and costs.
- Proper assessment, device selection, preparation, installation, and ongoing maintenance are essential steps.
- Following a workflow leads to more reliable protection and better long-term peace of mind.
Buying security devices without a plan is like locking your front door and leaving the back window wide open. Homes without security systems are 300% more likely to be burgled, yet most homeowners still set up their systems in a scattered, reactive way. The result? Missed vulnerabilities, false alarms, and wasted money. A structured workflow changes all of that. In this guide, you’ll move through every stage of home security setup, from spotting your property’s weak points to testing your finished system, with clear steps and practical tips along the way.
Table of Contents
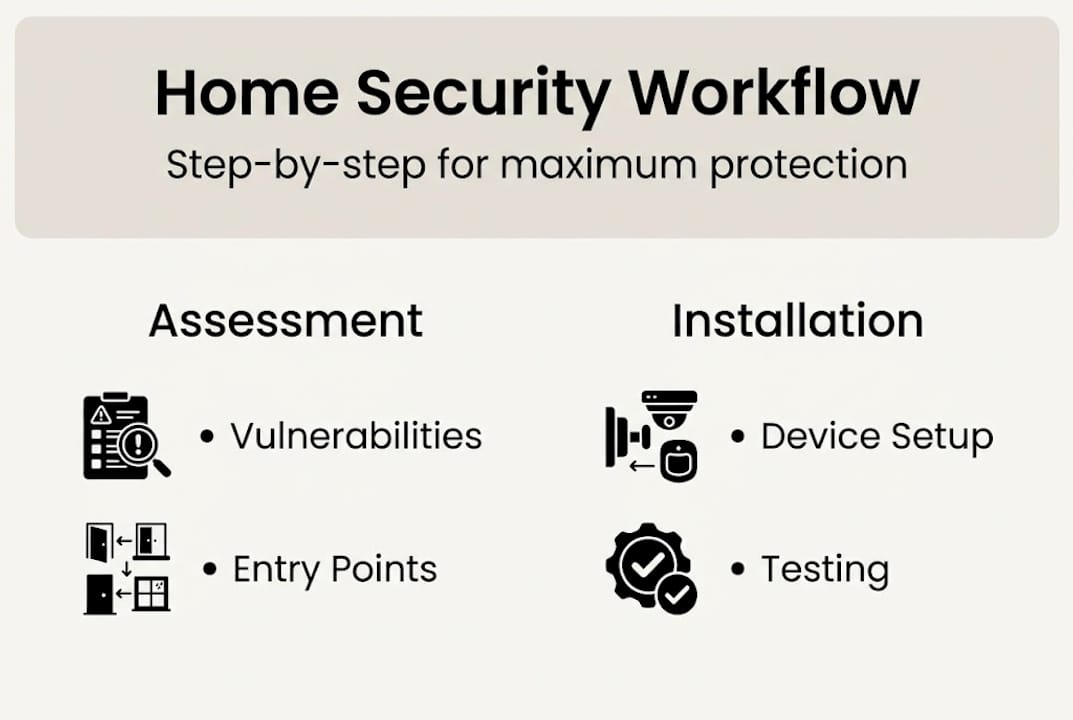
- Assessing your property and security vulnerabilities
- Selecting the right devices and integration
- Preparing for installation: tools, workspace, and Wi-Fi
- Step-by-step device installation and configuration
- Testing, troubleshooting, and maintenance best practices
- Why a workflow beats ad hoc security setups every time
- Get expert support for your home security journey
- Frequently asked questions
Key Takeaways
| Point | Details |
|---|---|
| Start with a vulnerability assessment | Identify entry points and high-risk areas before choosing devices. |
| Choose compatible and scalable devices | Select a central hub and devices that integrate seamlessly for expansion. |
| Prepare thoroughly for installation | Test Wi-Fi, assemble tools, and update firmware before you start. |
| Follow a structured workflow | Mount, configure, and test each device in sequence to ensure reliable protection. |
| Regularly maintain and test system | Monthly checks and adjustments prevent false alarms and keep security tight. |
Assessing your property and security vulnerabilities
Before you buy a single device, walk your property with fresh eyes. Pretend you’re a stranger looking for a way in. You’ll be surprised what you notice. Assessing entry points, valuables, and high-risk areas is the essential first step in any security workflow, and skipping it almost always leads to gaps.
Start at the front door and work your way around the perimeter. Check every door, window, gate, and garage entrance. Inside, identify where you store valuables, important documents, and electronics. Note areas that are poorly lit or hidden from neighbors’ view. These are your highest-priority zones.
Once you’ve completed the walkthrough, build a coverage checklist. This keeps your planning organized and ensures nothing gets overlooked. Your checklist should include:
- All entry doors (front, back, side, and garage)
- Ground-floor and basement windows
- Sliding glass doors and skylights
- Detached garages, sheds, and outbuildings
- Interior rooms with high-value items
- Areas that need 24/7 monitoring vs. periodic coverage
Pro Tip: Ground-floor windows and hidden side doors are the most frequently missed points. Include them in your checklist before you think about cameras or sensors.
Use the table below to match common vulnerabilities to typical solutions:
| Area | Common vulnerability | Typical coverage solution |
|---|---|---|
| Front door | Forced entry | Smart lock, door sensor, camera |
| Ground-floor windows | Break-in access | Window sensors, glass break detectors |
| Garage | Overlooked entry point | Garage door sensor, tilt sensor |
| Backyard | Low visibility | Motion-activated lights, cameras |
| Interior hallways | Movement detection | Motion sensors, indoor cameras |
For camera setup strategies that match each zone, it helps to plan camera angles during this walkthrough phase, not after installation. Pairing your checklist with a simple floor sketch gives you a visual map you can reference throughout the entire setup process. This step alone saves most homeowners hours of rework and repositioning later.
Selecting the right devices and integration
Once you know where you need security, it’s time to select the right devices for your workflow. The most important decision here isn’t which camera looks best. It’s which central hub or base station will anchor your system. Select compatible devices by starting with a central hub, then build outward with sensors and cameras that share the same communication protocol.
The three main protocols are Z-Wave, Zigbee, and Wi-Fi. Z-Wave and Zigbee are mesh-based and work well for larger setups with many devices. Wi-Fi is simpler to configure but can strain your network if you add too many devices. Mixing protocols without a compatible hub causes connectivity failures and monitoring gaps.
Next, decide between DIY and professional installation. Both have real advantages depending on your situation:
| Feature | DIY installation | Professional installation |
|---|---|---|
| Upfront cost | Lower | Higher |
| Monthly contract | Usually none | Often required |
| Flexibility | High | Lower |
| Technical skill needed | Moderate | None |
| Response time support | App-based | Monitoring center |
For DIY system reviews that compare today’s top options, checking independent sources helps you match system features to your actual needs rather than marketing claims.
Your device selection should cover these core categories:
- Entry sensors for doors and windows
- Motion sensors for hallways and open areas
- Indoor and outdoor cameras
- Smart locks for keyless access control
- Smoke and carbon monoxide detectors
Wireless devices are easier to install and reposition, which makes them ideal for renters or those new to security systems. Wired devices offer stronger reliability in large homes where Wi-Fi signal may drop. Explore system feature options to understand which capabilities matter most for your property type. For a broader view of what to prioritize, the essential security devices guide covers the most impactful products available today. You can also review must-have security system components to make sure nothing critical gets left off your list.
Preparing for installation: tools, workspace, and Wi-Fi
With your devices ready, preparation is key to avoid setbacks during installation. Showing up at a mounting location without the right tool wastes time and can damage walls or devices. Gather your tools before starting, including a drill, screwdriver, ladder, stud finder, and adhesive strips, and prepare each surface before you begin.
Here’s what a standard home security installation toolkit looks like:
| Tool or material | Purpose |
|---|---|
| Power drill | Mounting brackets and anchors |
| Screwdriver set | Tightening screws on sensors and panels |
| Ladder | Reaching high camera or sensor positions |
| Stud finder | Locating safe anchor points in walls |
| Adhesive strips | Mounting sensors without drilling |
| Cable clips | Managing wired connections neatly |
| Smartphone or tablet | Running setup apps and testing connectivity |
Before mounting anything, test your Wi-Fi signal at every planned device location. Most security cameras and smart devices work best on a 2.4GHz network because it carries signal farther through walls than 5GHz. A weak signal at the point of installation will cause constant disconnections after setup. This is one of the most common issues covered in camera installation mistakes that homeowners make.
Pro Tip: Use a free Wi-Fi analyzer app on your phone to check signal strength at each mounting location before drilling a single hole. If the signal drops below two bars, reposition your router or add a Wi-Fi extender first.
Also update the firmware on every device before installation. Manufacturers release firmware patches that fix connectivity bugs and security vulnerabilities. Installing outdated firmware means you’re starting with known weaknesses already baked in. If you’re new to security terminology, the security terminology guide explains key concepts clearly. For a full walkthrough of alarm-specific setup steps, the alarm installation guide covers the process in detail. You can also reference DIY security installation tips for practical advice on avoiding the most common setup pitfalls.
Step-by-step device installation and configuration
With everything in place, follow this workflow to set up and configure your system step-by-step.
- Place your central hub in a central location, ideally near your router and a power outlet, away from windows.
- Connect the hub to your app and complete the initial pairing process before adding any other devices.
- Mount entry sensors on all doors and windows, following the manufacturer’s gap specifications for accurate triggering.
- Install cameras at planned positions, angling them to cover the widest field of view without obstruction.
- Configure app settings, including zones, monitoring schedules, alert types, and any smart home integrations.
- Enable monitoring, whether self-monitored push alerts or a professional monitoring subscription.
Safety note: Avoid mounting motion sensors near heating vents, air conditioning units, or high-traffic pet areas. These trigger false alarms constantly and are one of the leading causes of system fatigue, where homeowners start ignoring alerts entirely.
Visible security systems deter up to 60% of burglars, and professional monitoring centers average a 28-second response time, making both visibility and monitoring critical parts of your setup. For your main entrance, the front door alarm setup guide walks through the most effective configurations.
Edge cases to plan for include pets, battery-powered devices, and weather interference. Pet-immune sensors and sensitivity adjustments help reduce false triggers from animals under 40 pounds. Set arm and disarm grace periods long enough for household members to enter without triggering the alarm, but not so long that an intruder could exploit the delay. For remote monitoring tips that reduce false alarms significantly, configuring your app correctly from day one makes a measurable difference. Also check false alarm prevention resources before finalizing your sensor placement.
Testing, troubleshooting, and maintenance best practices
Installation complete, the final step is crucial: testing and ongoing maintenance.
Start with a full walk-test of every zone. Most systems have a test mode that disables the siren while still triggering alerts. Walk past each motion sensor, open every door and window, and confirm that each event registers in your app. Simulate a breach at your highest-risk entry points and verify that alerts reach your phone and, if applicable, your monitoring center. Test every zone thoroughly by simulating real breach scenarios, not just tapping sensors by hand.
Document all your settings, passwords, and device serial numbers in a secure location. This makes future troubleshooting far faster and prevents lockouts when devices need to be reset.
Common issues you may encounter include:
- False alarms: Usually caused by sensor placement near vents, pets, or curtains moving in airflow
- Device offline: Typically a Wi-Fi signal issue or a firmware conflict after an update
- Low battery alerts: Schedule quarterly battery checks to stay ahead of failures
- Signal interference: Neighboring devices on the same frequency can disrupt Z-Wave or Zigbee networks
- App connectivity drops: Often resolved by restarting the hub or refreshing device permissions
False alarms are 85% preventable through proper placement and regular maintenance, yet most homeowners only address them after the alarm company or local authorities issue a warning. Using a remote monitoring solution that flags unusual patterns can also help you catch problems before they escalate. For more answers, the false alarm FAQ covers the most common scenarios in plain language.
Pro Tip: Set a recurring monthly reminder to check battery levels, clean camera lenses, and verify firmware updates. This single habit prevents the majority of system failures and false alarms.
Why a workflow beats ad hoc security setups every time
Now that you understand the workflow, let’s address why structured setups consistently outperform patchwork approaches.
Most homeowners don’t fail at home security because they chose bad products. They fail because they skipped the planning phase and installed devices wherever seemed convenient. The result is overlapping coverage in some areas and zero coverage in others. Ad hoc setups also produce far more false alarms because sensors end up in poor positions from the start.
Here’s the contrarian truth: a structured workflow actually reduces the time and money you spend on security over the long run. You buy fewer devices because you know exactly what each location needs. You troubleshoot less because devices are placed correctly from day one. And you sleep better because you’ve verified the system actually works.
“The biggest mistake is treating security as a one-and-done project. Ongoing calibration is essential.”
False alarms are 85% preventable through user education and proper setup, which means most of the risk is within your control. Training every household member or staff person on how to arm, disarm, and respond to alerts is not optional. It’s the step that ties the entire workflow together. Pair that training with false alarm reduction strategies and you’ve built a system that works reliably for years.
Get expert support for your home security journey
Ready to streamline your setup? Here’s how to get additional support and resources.
At Safes and Security Direct, we’ve helped thousands of homeowners and small business owners move from overwhelmed to fully protected. Whether you’re starting from scratch or upgrading an existing system, our product range covers every step of the workflow you’ve just read through.
Explore our essential feature list to identify which capabilities matter most for your property. From professional-grade cameras to fire-resistant safes and complete alarm systems, we carry trusted, durable equipment built for real-world protection. Our team is ready to help you find the right solution at the right price, without the guesswork.
Frequently asked questions
How long does a DIY home security setup usually take?
Most DIY setups take 1 to 3 hours, depending on the number of devices and the complexity of your home’s layout.
What are the main causes of false alarms in home security systems?
85% of false alarms are caused by user error or faulty equipment, including incorrect sensor placement and failure to update system settings after household changes.
Can small business owners use home security systems for their premises?
Yes, many home security systems scale well for small businesses, but a site assessment and professional install are recommended, along with access control features for employee entry management.
How can I prevent my pets from triggering motion sensors?
Pet-immune sensors and adjusted sensitivity settings help significantly, and mounting sensors at 7 to 8 feet reduces the detection angle for animals near the floor.
Are wireless security devices reliable for large homes?
Wireless devices offer strong DIY flexibility, but large homes often benefit from wired connections or a professional wireless mesh setup to maintain consistent signal coverage throughout.
Recommended
- Asset Protection Workflow Guide for Maximum Security – Safes and Security Direct
- Strategic Security Camera Setup for Optimal Protection – Safes and Security Direct
- How to Improve Home Security: Proven Steps for 2026 – Safes and Security Direct
- How to Secure Commercial Premises for Maximum Protection – Safes and Security Direct