

Step by Step Home Surveillance Guide for Homeowners
TL;DR:
- A comprehensive home surveillance guide emphasizes careful planning, proper equipment, and network security for reliable system performance. Proper camera placement, wired or wireless, and thorough configuration ensure effective monitoring and minimal blind spots. Securing the network with strong passwords, updates, and user segmentation protects against unauthorized access and system compromise.
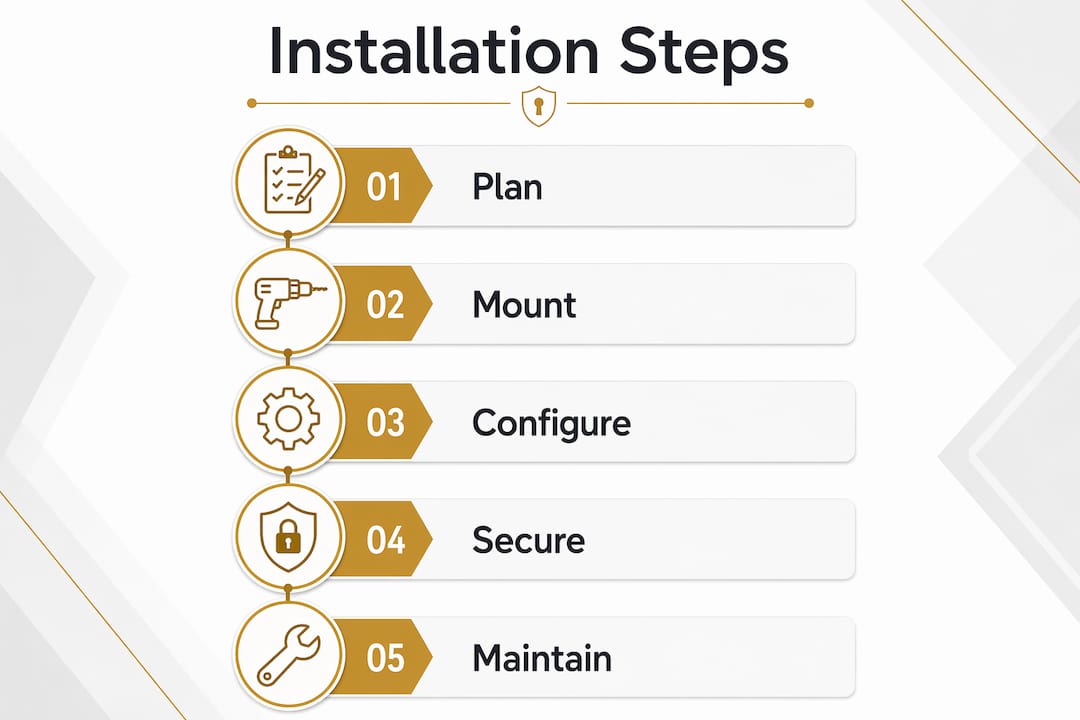
A step by step home surveillance guide gives you a clear path to install, configure, and secure a closed-circuit television (CCTV) or IP camera system that actually works. Most failed DIY setups come down to skipped planning, not technical complexity. Before you touch a drill, you need three things in place: a camera placement map, the right equipment for your property type, and a network ready to support remote viewing. Tools like network video recorders (NVRs), Power over Ethernet (PoE) switches, and apps like the Roku Smart Home app make the process manageable for any homeowner or renter willing to follow a structured process.
What tools and planning steps are needed before installation?
A pre-install checklist is the single most important document you will create before buying a single camera. It covers tools, camera locations, cable routes, and power sources. Skipping this step is the most common reason DIY surveillance systems end up with blind spots or dead cameras within the first month.
Tools you need on hand:
- Drill with masonry and wood bits
- Ladder (height appropriate for your eaves or ceiling mounts)
- Cable tester and cable clips
- Spirit level and stud finder
- Screwdriver set (flathead and Phillips)
- Uninterruptible power supply (UPS) for NVR protection
- Smartphone for live view testing during install
Planning your camera locations:
Walk every entry point of your property before marking locations. Front door, back door, garage, and driveway are the four zones that cover the majority of intrusion attempts. Indoors, focus on hallways and main living areas rather than bedrooms, which raises privacy concerns and rarely adds security value.
Test your Wi-Fi signal at each planned outdoor camera location before committing to a wireless setup. Weak signal at the mounting point means dropped footage. For wired PoE cameras, plan your cable routes from each camera back to the NVR location, avoiding sharp bends and areas where cables could be cut or damaged.
Renters: Get written landlord approval before drilling any holes or running cables through walls. Many landlords accept surface-mounted cable clips and wireless cameras as a no-damage alternative.
| Planning task | Why it matters |
|---|---|
| Map all entry points | Prevents blind spots at key intrusion zones |
| Test Wi-Fi at mount points | Avoids dropped footage on wireless cameras |
| Plan cable routes to NVR | Reduces install time and cable waste |
| Check power outlet locations | Confirms GFCI outlet access for outdoor cameras |
| Confirm landlord approval | Protects renters from lease violations |
Pro Tip: Photograph each planned camera location with your phone before installation. These photos become your reference if you need to re-run cables or troubleshoot coverage gaps later.
How to install and mount cameras step by step
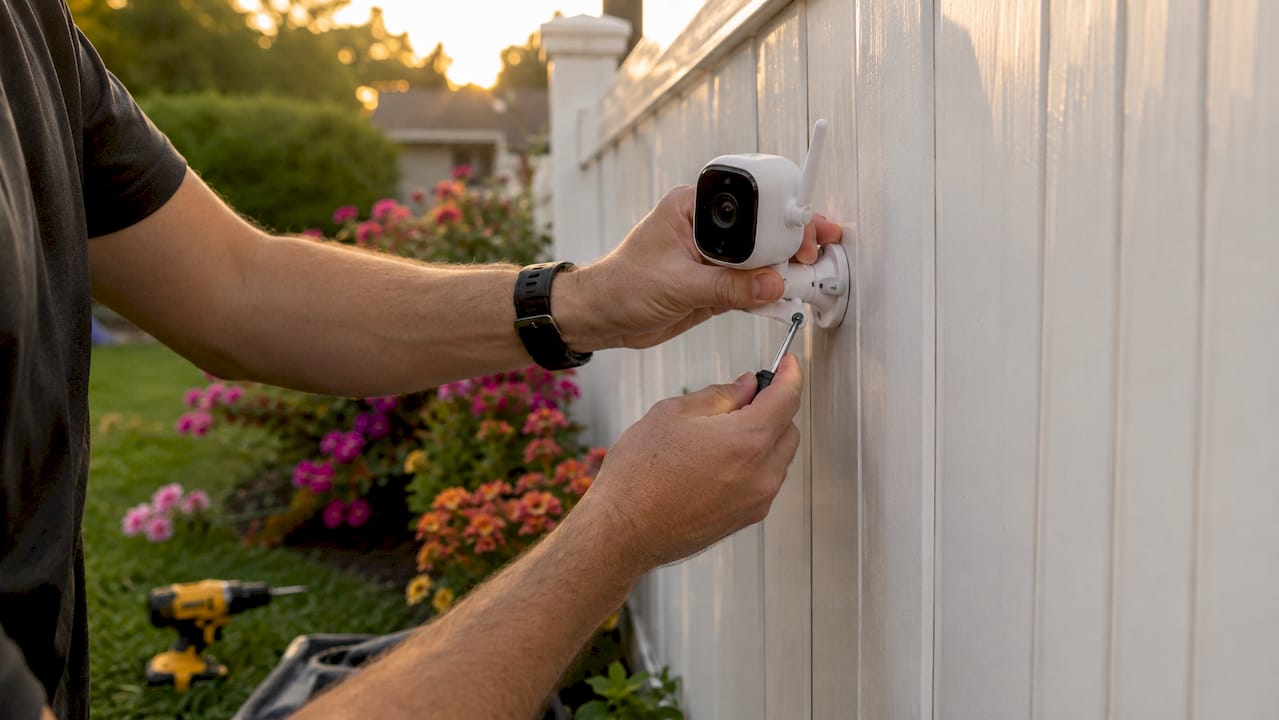
The physical installation process differs between wired PoE IP cameras and wireless cameras, but the mounting principles are the same. Height and angle are your two biggest variables. Mount cameras between 8 and 10 feet off the ground. This height captures facial detail while staying out of easy reach.
Wired PoE camera installation:
- Drill a mounting hole at the marked location, angling slightly downward to prevent water ingress.
- Feed your Cat5e or Cat6 Ethernet cable through the hole, leaving enough slack at both ends.
- Secure the cable along the wall or eave using UV-rated cable clips spaced every 12 to 18 inches.
- Attach the camera mount to the wall using the provided screws and wall anchors. Use a spirit level to confirm alignment.
- Connect the Ethernet cable to the camera’s RJ45 port and run the other end to your NVR or PoE switch.
- Power on the NVR. PoE cameras auto-discover on the NVR within 30 to 60 seconds and appear in the live view.
Wireless camera installation:
Wireless cameras like the Roku Outdoor Wired Camera connect via Wi-Fi using WPA or WPA2 encryption and require a weatherproof power connection to a GFCI outlet. Setup runs through the Roku Smart Home app, which walks you through network pairing and camera naming. The process takes under 10 minutes per camera once the mount is secure.
| Feature | Wired PoE cameras | Wireless cameras |
|---|---|---|
| Power source | Ethernet cable (PoE switch or NVR) | GFCI outlet or battery |
| Setup complexity | Moderate (cable runs required) | Low (app-based setup) |
| Reliability | High (no Wi-Fi dependency) | Moderate (signal dependent) |
| Best for | Permanent installs, large properties | Renters, small properties |
| Remote viewing | Via NVR app | Via manufacturer app |
Avoid the most common installation mistakes by checking camera angles before tightening mounts permanently. A camera pointed too high captures sky instead of faces. A camera pointed too low misses approaching vehicles entirely.
Pro Tip: For outdoor cable runs, use UV-rated cable routing and leave 0.5 to 1 meter of slack at each camera head. This slack prevents tension on the connector when the camera is adjusted and reduces long-term connection failures.
How to configure the surveillance system and NVR settings
NVR configuration is where most DIY installs stall. The hardware is in place, but the system is not recording, not sending alerts, or not accessible remotely. Follow this sequence to avoid those gaps.
Initial NVR setup:
- Set language, time zone, and correct date and time. Wrong timestamps make footage useless in a legal or insurance context.
- Change the default admin username and password immediately. Default credentials are the top reason surveillance systems get compromised.
- Run the auto-detection wizard. PoE cameras connected directly to the NVR appear automatically. Non-PoE cameras require manual IP entry.
- Label each camera channel by location (e.g., “Front Door,” “Garage”) for fast playback navigation.
Motion detection and recording schedules:
Set motion detection zones to cover the active areas in each camera’s field of view, not the entire frame. A camera covering a busy street will trigger constantly if the full frame is active. Narrow the zone to your driveway or front path only.
Recording mode directly affects your storage needs. Continuous 4K recording consumes roughly 50GB per camera per day, meaning four cameras at 4K fill 6TB in 30 days. Motion-only recording cuts that figure dramatically and is the practical choice for most home setups.
| Recording mode | Storage use (per camera/day) | Best for |
|---|---|---|
| Continuous 4K | ~50GB | High-security zones, insurance claims |
| Continuous 1080p | ~10GB | General coverage |
| Motion-triggered only | ~1 to 3GB | Standard home use, storage savings |
Mobile app and remote viewing:
Install your NVR manufacturer’s app on your smartphone. Most NVRs from brands like Hikvision or Dahua use P2P cloud connection for remote access. Scan the NVR’s QR code in the app, set a strong password for the app account, and test the live view from a cellular connection, not just your home Wi-Fi.
What network security practices protect your surveillance system?
Physical camera placement and network security are inseparable. A camera with a weak password or an exposed port is a liability, not an asset. Neglecting access controls undermines the entire system regardless of hardware quality.
Core network hardening steps:
- Change all default passwords on cameras, NVR, and router. Use a password manager to generate and store unique credentials.
- Enable multi-factor authentication (MFA) on any remote access account. For a full breakdown of how MFA works in a home security context, the MFA security guide at Safesandsecuritydirect covers the setup process in detail.
- Disable UPnP on your router. UPnP automatically opens ports, which exposes your NVR to the public internet without your knowledge.
- Avoid direct port forwarding to your NVR. Use a VPN instead for secure remote access.
- Segment your surveillance devices onto a separate network VLAN if your router supports it. This keeps cameras isolated from laptops and phones.
- Update NVR and camera firmware every 60 to 90 days. Manufacturers patch known vulnerabilities regularly.
Pro Tip: Check your router’s connected device list monthly. Any unrecognized device on the same network as your NVR is a red flag worth investigating immediately.
For broader home security best practices beyond the surveillance system itself, Safesandsecuritydirect maintains a regularly updated resource covering physical and digital security together.
How to test, troubleshoot, and maintain your system
Testing is not optional. A system that looks installed is not the same as a system that works. Stress testing your recording under realistic conditions, including simulated motion events and a power cycle, is the only way to confirm your retention settings and overwrite behavior are functioning correctly.
Post-installation verification checklist:
- Walk the full perimeter and each interior zone during daylight and at night to confirm image quality and coverage angles.
- Trigger a motion event in front of each camera and confirm the recording appears in playback.
- Check that timestamps on recordings match the actual time.
- Test push notifications from a cellular connection, not your home network.
- Simulate a power outage by unplugging the NVR, then confirm recordings resume and timestamps remain accurate after restart.
“Silent gaps in recordings are the most dangerous failure mode in home surveillance. The system appears to be working, but footage from a critical event simply does not exist.”
For ongoing maintenance, inspect cable runs every six months for physical damage, UV degradation on outdoor cables, or loose connectors. Proper cable slack of 0.5 to 1 meter at each camera head prevents connector stress and reduces outages over time. Keep a log of firmware update dates and any camera faults for reference.
Key takeaways
A home surveillance system only delivers reliable protection when planning, installation, configuration, and network security are all treated as equally critical steps.
| Point | Details |
|---|---|
| Plan before you buy | Map camera locations, cable routes, and power sources before purchasing any equipment. |
| Phase your installation | Start with front door and perimeter cameras, confirm they work, then expand to secondary zones. |
| Configure storage carefully | Motion-triggered recording cuts storage needs dramatically compared to continuous 4K recording. |
| Harden your network | Change default passwords, disable UPnP, and use a VPN for remote NVR access. |
| Test under real conditions | Simulate power outages and motion events to confirm recordings and retention settings work correctly. |
What I’ve learned from years of DIY surveillance installs
Most people treat the camera hardware as the hard part and the network as an afterthought. That is exactly backwards. I have seen setups with excellent cameras that were completely compromised because the NVR was still running factory credentials six months after install. The physical work is straightforward once you have a plan. The network configuration is where real security lives.
My strongest recommendation is to phase your installation starting with front door and perimeter coverage. Get those cameras recording, verified, and secured before adding indoor cameras or smart sensors. Expanding a working system is far easier than troubleshooting a half-finished one.
One thing most guides skip: camera placement affects your neighbors, not just your property. Angle outdoor cameras to cover your own driveway and entry points without capturing a neighbor’s backyard or front door. In many states, recording audio or video of neighboring properties without consent creates legal exposure. A strategic camera placement approach solves both the security and the legal problem at once.
The combination of solid hardware, correct mounting height, motion-triggered recording, and a hardened network is what separates a system that actually deters and documents from one that just looks like it does.
— Chetna
Find the right surveillance equipment at Safesandsecuritydirect
Safesandsecuritydirect stocks wired PoE cameras, wireless outdoor cameras, NVR systems, and all the accessories needed for a complete home security setup. Whether you are installing your first camera or upgrading an existing system, the product range covers both entry-level and professional-grade options with full specifications listed for every model. The team also provides installation guides and customer support to help you move from planning to a fully operational system without guesswork. Browse the full security camera range at Safesandsecuritydirect to find equipment matched to your property size, budget, and recording requirements.
FAQ
What cameras work best for a first-time DIY install?
Wireless cameras are the easiest starting point for renters and first-time installers because they require no cable runs and set up through a smartphone app. Wired PoE cameras offer greater reliability for permanent installs on owned properties.
How much storage do I need for a 4-camera home system?
Four cameras recording continuously at 4K require roughly 6TB of storage for 30 days of footage. Switching to motion-triggered recording at 1080p reduces that requirement to under 1TB for the same period.
Do I need a separate network for my surveillance cameras?
Placing cameras on a separate VLAN keeps them isolated from your personal devices and limits the damage if a camera is compromised. Most modern routers support VLAN configuration without additional hardware.
How often should I update my NVR firmware?
Update NVR and camera firmware every 60 to 90 days. Manufacturers release patches for known security vulnerabilities on a regular cycle, and outdated firmware is one of the most common entry points for unauthorized access.
Can renters install security cameras without landlord permission?
Renters should get written landlord approval before drilling or running cables. Wireless cameras mounted with adhesive brackets and surface-mounted cable clips are a practical no-damage alternative accepted by most landlords.
Recommended
- Homemade Surveillance: Best DIY Security Tips – Safes and Security Direct
- Essential Guide to Security Surveillance Camera Systems for Beginners – Safes and Security Direct
- Surveillance cameras: what they really do for your security – Safes and Security Direct
- How to set up a security system that actually works – Safes and Security Direct