


- 2.4/5 GHz Dual-Band WiFi
-
4K 8MP Ultra HD
-
Person/Vehicle/Animal Detection
- 16-Channel NVR with 2TB HDD
All-Around Protection, All in Control
Easily build your own security center with this powerful WiFi camera system. No more messy and expensive network cabling. The cameras in it can be managed via the NVR to stand guard over every inch of your property. Everything is under your control.
Next-Gen Wi-Fi 6
With dual-band Wi-Fi 6, the system achieves long-distance streaming with faster speed and stronger signal. The BSS Coloring technology minimizes the co-channel interference, while OFDMA and MU-MIMO technologies maximize the network efficiency, leading to reduced latency and jittering.
Go Faster on Streaming
With Wi-Fi 6's 1024-QAM, data transfer speed has increased by 25% compared to standard Wi-Fi 5. Enjoy fast connections with minimal latency.
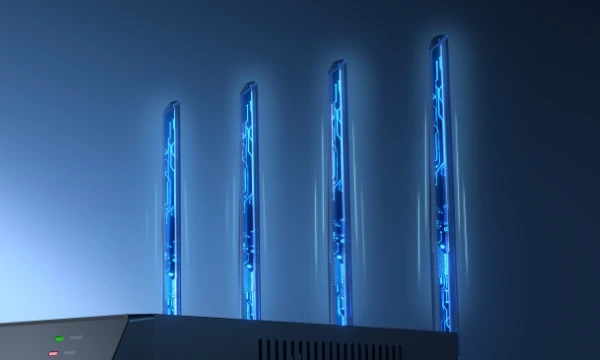
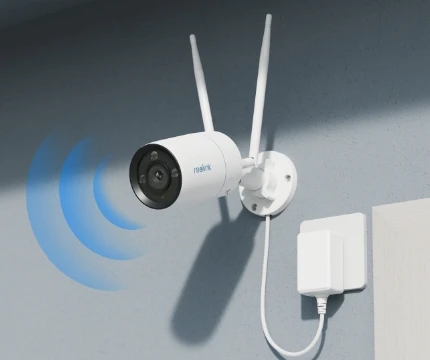
Expanded Coverage
The NVR's four high-gain external antennas and the cameras' 2T2R MIMO antennas offer superior signal strength, providing coverage of up to 1,000* square meters. Stay connected, stay secure.
4K Stunning Videos
Day & Night
4K Ultra HD opens up a world of possibilities. Say goodbye to blurry images and hello to crystal-clear visuals. Enjoy full-color nighttime footage or switch to black & white vision as you like.
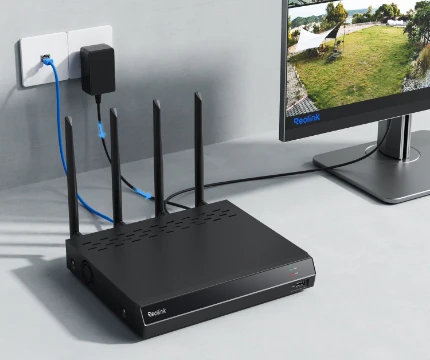
Reliable 24/7 Recording with Local Storage
Enjoy uninterrupted recordings even without the Internet. The NVR comes with a 2TB HDD and can be expanded up to 16TB to save 10 days of your 24/7 footage from four cameras locally. Additionally, WiFi 6 with WPA3 ensures high-class network security, offering robust encryption and authentication mechanisms to protect your data and privacy.
Your System, Your Choice
Expand your system with up to 16 Reolink IP cameras—whether plug-in Wi-Fi, battery-powered Wi-Fi, or PoE. Secure every inch of your home, store, or factory, and enjoy the creative freedom to design a security system that suits your unique needs.

Simple & Tidy Setup
Step 1
Initialize the NVR
Power on the NVR. Connect it to your monitor with the HDMI/VGA cable and to your router with an Ethernet cable.
Step 2
Initialize the Cameras
Power on the cameras and connect them to the NVR with Ethernet cables. Complete the initial setup and sync WiFi info on the monitor.
Step 3
Install the Cameras
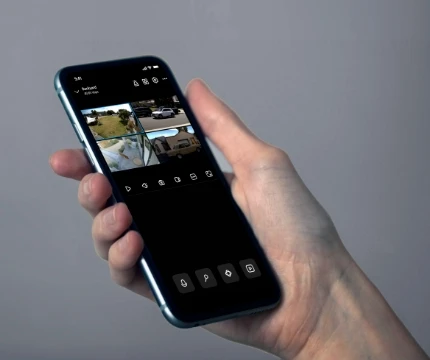
Disconnect the Ethernet cables from the cameras and install them where needed most. Then you can enjoy the live view via the monitor, Reolink App or Client.
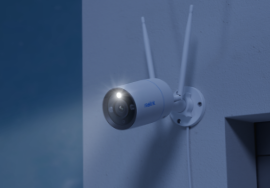
Ready for any Weather
With the robust housing, the cameras are built to brave anything from torrential downpours to freezing snowstorms. So go ahead and place them anywhere for uninterrupted service.